
Introduction
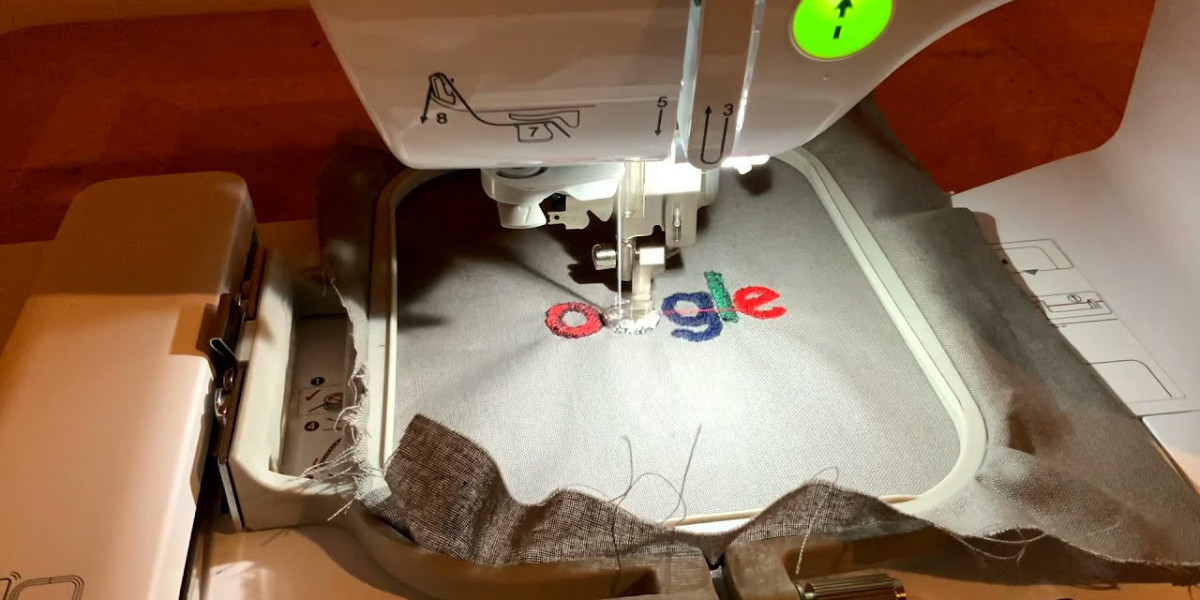
Have you ever stared at an embroidered logo on a polo shirt and wondered how it got there? The journey from a flat image to raised, textured thread is nothing short of magic. But the truth is, there is no magic involved. There is a methodical, creative, and highly technical process that transforms artwork into stitch instructions that machines understand. Embroidery digitizing process explained in plain terms shows you exactly what happens behind the scenes. It is not about simply scanning a picture and hitting print. It is about making decisions that affect how the final design looks, feels, and performs on fabric.
Many people think digitizing is just a quick software trick, but experienced digitizers know it is an art form. Every curve, every color change, and every stitch direction matters. The process requires you to think like both an artist and an engineer. You have to imagine how thread will lay on fabric, how light will reflect off different angles, and how the fabric itself will react under the needle. It is a puzzle that combines creativity with technical precision, and when done right, the result is breathtaking.
So let us pull back the curtain and walk through the embroidery digitizing process from start to finish. Whether you are a beginner looking to understand the craft or someone considering hiring a digitizer, this inside look will give you a whole new appreciation for what goes into every embroidered piece.
What Exactly Is Embroidery Digitizing?
At its core, digitizing is the act of converting artwork into a digital file that an embroidery machine can read. The machine does not see colors or shapes the way we do. It only understands stitch coordinates. So when you feed a JPG, PNG, or vector file into digitizing software, the digitizer translates those visual elements into a language of stitches.
This translation involves assigning stitch types, determining stitch direction, setting densities, and planning color sequences. The final file, usually in PES, DST, or EXP format, contains every instruction the machine needs to recreate the design on fabric. Without digitizing, your embroidery machine would just sit there, needle frozen, unsure of where to go next.
The beauty of digitizing is that it gives you enormous creative control. You are not just copying the original image; you are reinterpreting it for a medium that behaves very differently from paper or a screen. Thread has texture, thickness, and sheen. It catches light and casts shadows. A good digitizer uses these characteristics to enhance the design, making it pop in ways a flat image never could.
The Journey from Artwork to Stitches
The digitizing process begins with the artwork itself. Not every image works well for embroidery. A digitizer looks at the design and immediately starts analyzing it. What are the main shapes? How many colors are there? Is there fine detail that will get lost in thread? These questions guide the entire process.
Once the design is deemed suitable, the digitizer imports it into specialized software. This is where the hands-on work begins. The software displays the image as a background layer, and the digitizer traces over it, creating vector shapes that represent each color area. This is similar to creating a coloring book outline, but with way more precision.
After tracing, the digitizer assigns stitch types. Thin outlines get satin stitches, which are dense and smooth. Larger fill areas get tatami or run stitches, which cover space efficiently without overloading the fabric. The digitizer also chooses stitch angles, because the direction of the stitches affects how light reflects off the finished design. A slight angle change can make a design look three-dimensional.
Then comes underlay. Underlay stitches are the foundation, laid down before the top stitches. They stabilize the fabric, prevent shifting, and give the top layer something to grip onto. Good digitizers never skip underlay, because it makes the difference between a clean design and a puckered mess.
The final step involves setting up color changes and saving the file in a format compatible with the target machine. Some machines read PES, others use DST or EXP. The digitizer ensures the file works for the specific machine it is intended for.
Why Every Stitch Direction Matters
One of the most overlooked aspects of digitizing is stitch direction. Beginners often ignore this, but experienced digitizers obsess over it. Stitch direction influences how light hits the thread, which in turn affects the perceived color and depth of the design. If you stitch two adjacent areas in the same direction, they blend together. If you stitch them in different directions, they stand apart.
Stitch direction also affects how the fabric behaves. Stitching perpendicular to the fabric grain can cause puckering, while stitching with the grain keeps everything smooth. A skilled digitizer knows how to balance these factors to achieve a professional finish.
Think of a sunflower design. The petals look more realistic if the stitches radiate outward from the center, mimicking the natural growth pattern. A flat, uniform direction would make the petals look lifeless. These subtle choices elevate embroidery from basic to beautiful.
The Role of Pull Compensation
Pull compensation is another critical concept in the digitizing process. When a needle punches through fabric, the thread pulls the fabric slightly inward. This is called pull. If you do not account for it, your design will come out smaller and narrower than intended.
Digitizers compensate by adding extra width to columns and slightly expanding shapes. This sounds counterintuitive, but it works because the pull effect brings the stitches back to their intended size. Without pull compensation, a perfect circle in the software might stitch out as an oval. Thin letters might become unreadable.
Experienced digitizers know exactly how much compensation to add based on the fabric type and stitch density. It is a skill that comes with practice, and it is one of the key differences between amateur and professional results.
Adjusting for Different Fabrics
Fabric choice changes everything in embroidery. A design that stitches perfectly on a sturdy denim might pucker on a delicate silk. The digitizer has to adjust stitch density, underlay settings, and even pull compensation based on the material.
Stretchy fabrics need more stabilization and lighter stitch densities to prevent distortion. Thick fabrics like fleece require longer stitches to penetrate properly. Sheer fabrics need careful underlay to prevent the stitches from showing through. The digitizer considers all these factors before finalizing the file.
This is why professional digitizers always ask about the fabric type before starting a project. They are not being nosy; they are gathering essential information to ensure the design stitches out flawlessly. Skipping this step leads to disappointing results that no amount of editing can fix.
Color Selection and Thread Matching
Your artwork might use a specific shade of red, but embroidery thread comes in limited colors. The digitizer has to find the closest match from the available thread palette. This sometimes means making creative compromises. A slightly different shade of red might look better under lighting conditions, or a particular thread brand might have a sheen that enhances the design.
Digitizers often create a color chart that maps the artwork colors to specific thread colors. This chart accompanies the digital file so the embroiderer knows exactly which threads to load. It takes the guesswork out of color selection and ensures consistency across multiple runs.
Do not be afraid if the thread colors do not match your artwork perfectly. Thread behaves differently than ink, and sometimes an off-color choice actually looks more vibrant once stitched. Trust your digitizer on this one, they have seen it play out hundreds of times.
Common Challenges in Digitizing
Even the best digitizers face challenges. Complex logos with gradients or drop shadows are notoriously difficult because embroidery does not do blending well. The digitizer has to simplify these effects, using techniques like layering or varying stitch directions to simulate depth.
Small text is another headache. Letters need to be big enough to remain legible, but clients often want tiny text on their designs. The digitizer has to find a balance, sometimes adjusting the font or using thicker stitches to maintain readability.
Thread breaks and needle breaks are practical concerns too. If the stitch density is too high, the machine struggles to push the needle through. The digitizer adjusts density to keep the machine running smoothly while maintaining coverage. It is a constant balancing act between aesthetics and practicality.
The Importance of Testing
Professional digitizers never send a file to a client without testing it first. They stitch out a sample on the specified fabric, inspect the results, and make adjustments if needed. This trial phase catches issues that software previews cannot show. Maybe the colors look different under natural light, or the fabric puckered in a specific area.
Testing also confirms that the file works correctly with the client’s machine. Different embroidery machines have slightly different behaviors, and a file that works on one might not work on another. Testing eliminates this uncertainty.
If you are hiring a digitizer, ask if they test their files. A confident digitizer will say yes and may even offer to send you a test file before the final version. This commitment to quality separates professionals from amateurs.
Conclusion
The embroidery digitizing process is a fascinating blend of art and technology. It takes a simple image and breathes life into it through thread, transforming it into something tactile and enduring. From selecting stitch directions to compensating for fabric pull, every step requires thought, experience, and a deep understanding of how embroidery machines work.
If you are new to digitizing, start with simple designs and gradually take on more complex projects. Learn from your mistakes and celebrate your successes. Each design you digitize teaches you something new about this intricate craft.